What is an AAP?
An Academic Accommodation Plan (AAP) is a required document established by the Chancellor’s office in response to Title V changes by the California Legislature. The AAP records critical information about a student’s disabilities, educational limits and accommodations. Within SAM, there is a table just for AAP documentation. You can find the AAP table in the navigation bar (menu) to the right of the home tab at the top of SAM.

For SAM to create a full AAP, it requires several different kinds of information. Before creating an AAP for a student, you must ensure the following:
Failure to enter any of these prior to creating an AAP will result in SAM not displaying them on the AAP. This may require you to create a second AAP.
How to use the AAP table in SAM
While the AAP is a table within SAM, you can use it to generate a printable letter if needed. Take the following steps in order to create a new AAP:
- The student has a record within SAM.
- The student’s disabilities have been entered, ranked and saved appropriately in SAM.
- The student’s educational limitations have been entered and saved in SAM.
- Any approved accommodations the student will be provided have been entered into SAM as these approved accommodations will become the “Academic Adjustments” in the AAP.
- Click the “+New AAP” button on the top right corner of the page, just below the navigation pane.

- You should now see a blank form like the one below. You will enter the Student Name, Completed By, Effective Date, Progress Notes and Additional Comments. SAM will pull the disabilities, educational limitations, and accommodations for you from data already associated with the student you select. Again, if you have not entered the disabilities, educational limitations and accommodations for the student BEFORE creating the AAP, they cannot be pulled from SAM and these sections of the AAP will be blank.
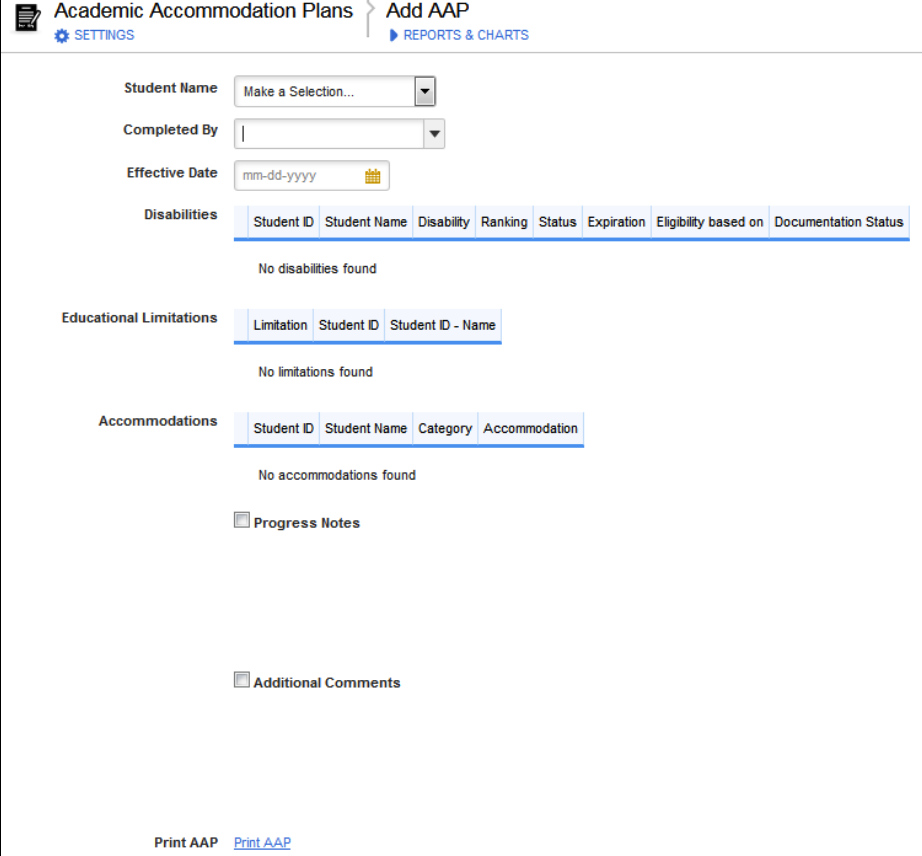
- Select the name of the student this AAP is for from the Student Name drop down menu. (Note: If the student’s name does not appear in the menu, this means the student is not in the system and they will need to have a student record created for them.)
- Select your name or the name of your supervisor from the Completed By dropdown menu. (Note: This menu contains only the names of authorized SAM users for your institution.)
- Select an effective date by typing in the date manually in the mm-dd-yyyy format or by clicking the calendar button and navigating to the desired date.
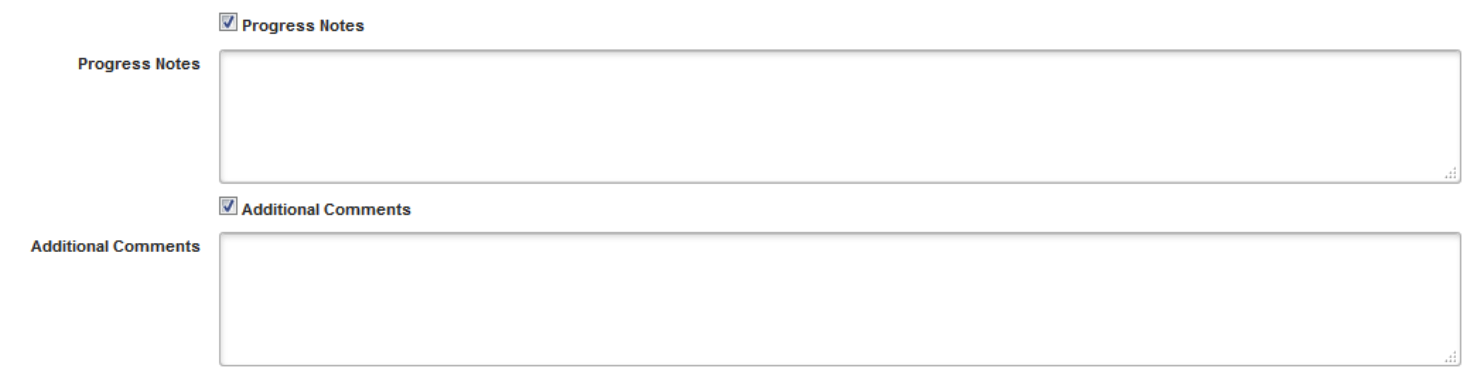
- Check the check boxes next to Progress Notes and/or Additional Comments if they are needed and a box that will contain text will appear. (Caution: The contents of both of these boxes is permanent and un-editable. This means that you will need to create a new AAP and delete the current one if you need to hide data or even correct a typographical error.)
- Click the save button on the top right side of the screen. The data for Disabilities, Educational Limitations, and Accommodations will auto-populate by pulling data from the corresponding tables in SAM. Again, if you have not entered the disabilities, educational limitations and accommodations for the student BEFORE creating the AAP, they cannot be pulled from SAM and these sections of the AAP will be blank. Once the AAP record has saved, check to make sure the information looks correct.

- If needed, you can then click the “Print AAP” link at the bottom and it will generate a printable letter that you can save to PDF and email, print out to have the students sign, etc.
Note: If you’re unsure about whether the disabilities, educational limitations and accommodations for the student have been entered into SAM, you can save BEFORE entering Progress Notes and Additional Comments. This will cause SAM to pull that data onto the AAP record so you can inspect it. You can then edit the AAP record, add Progress Notes and Additional Comments as needed, save a second time and print the generated letter.
- Click the “+New AAP” button on the top right corner of the page, just below the navigation pane.